Published On Mar 20, 2018
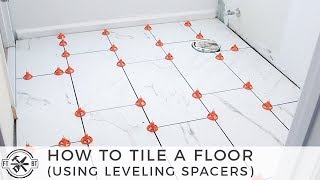
Today's video shares quick tips for how to tile a shower floor. We share tips and tools that make this a lot easier no matter what your skill level. The links we promised are down below
Bathroom Repair Tutor -- https://bathroomrepairtutor.com/video...
Angle Grinder - https://goo.gl/NKX3px
Masterpiuma Tile Cutter - https://goo.gl/212GNN
Ishii Big Clinker Tile Cutter - https://goo.gl/QrG9Sp
Silica Dust Respirator - http://amzn.to/2u1NGYw
Bosch Laser Level -- https://tinyurl.com/y8v9kl28
Horseshoe tile spacers - https://amzn.to/2PSISPt
linoleum knife -- https://amzn.to/2TzAwdQ
Grout float -- https://amzn.to/2DDrh70
1/4" x 1/4" trowel - https://amzn.to/2FAJJ2A
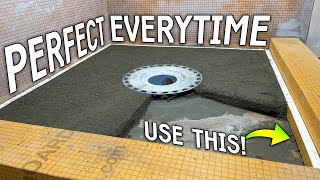
The first step to tiling a shower floor start in a corner and layout the sheets of tile.
Then work your way toward the drain. In this example we cut 4 tiles from the center of the sheet to see what that would look like.
From there, we added sheets of tile toward the plumbing wall, back wall, curb, and shower bench.
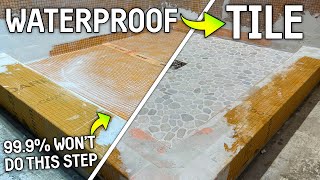
Industry standards require a minimum 1/8" expansion and contraction joint between the tile and wall boards or curb.
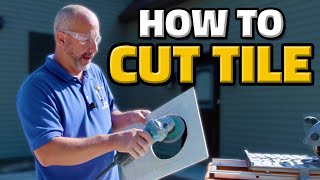
Cutting tiles for the shower floor is a lot easier with an angle grinder and diamond blade. But wear a silica dust respirator.
Our Part 2 video will share how to set these tiles on the shower floor using thin-set mortar.