Published On Mar 24, 2018
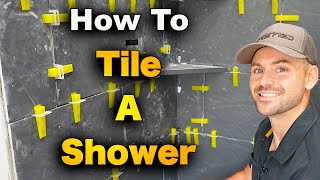
Today's video shares quick tips for how to tile a shower floor. We share tips and tools that make this a lot easier no matter what your skill level. The links we promised are down below.
For more home improvement tips visit https://www.homerepairtutor.com/👍🏼
FEIN Angle Grinder -- https://amzn.to/2rmQQlM
Bosch Laser Level -- https://tinyurl.com/y8v9kl28
Tuscan SeamClip (Blue) -- https://amzn.to/2KCadPy
Tuscan SeamClip (Red) -- https://amzn.to/2KGh5LM
Horseshoe tile spacers - https://amzn.to/2PSISPt
1/4" x 1/4" trowel - https://amzn.to/2FAJJ2A
linoleum knife -- https://amzn.to/2TzAwdQ
ishii tile cutter -- https://amzn.to/2R6CUHf
Grout float -- https://amzn.to/2DDrh70
The first step to tiling a shower floor is to plan the layout. Our Part 1 video shows step-by-step how to do this
• How to Tile a Shower Floor (Part 1: L...
Once the layout is established, set the Wedi drain cover using Wedi Joint Sealant or thin-set mortar.
Then mix modified thin-set according to the directions. For this project we used Ardex X77 modified thin-set mortar. Ardex X5 is also a good option.
It's very important that the thin-set mortar have the right consistency. Use measuring buckets to achieve this and a good mixing tool. We used Milwaukee's cordless Mud Mixer with a 9.0 Ah battery (https://amzn.to/2DPoiEX)
Equally important is the correct trowel size. Our tiles were 1/4" thick and we used a 1/4" x 1/4" square notched trowel.
1/4" x 1/4" trowel - https://amzn.to/2FAJJ2A
Also, apply the thin-set such that all the trowel ridges face the same direction.
Then set the tiles into the thin-set but don't tamp them down until all the grout joints are evenly aligned.
Use a rubber grout float to tamp the tiles then clean the top of the tile with a damp sponge. https://amzn.to/2DDrh70
Our video has more helpful tips