Published On May 9, 2019
Check Out Our FREE GUIDE: 25 Must-Have Carpentry Tools...Under $25 Each!
https://www.thehonestcarpenter.com/
AFFILIATE TOOL LINKS:
Makita 7-1/4" Circular Saw:
https://amzn.to/3bTcRz3
Dewalt Miter Saw:
https://amzn.to/3rakgAk
Dewalt Table Saw:
https://amzn.to/38maynl
Dewalt Drill/Driver Combo:
https://amzn.to/3bZIzKO
Stanely 24" Level:
https://amzn.to/3bhYuoO
Newborn Caulking Gun:
https://amzn.to/3bWh2dq
(These are affiliate links. When you shop through these links, we receive a small commission at NO EXTRA CHARGE TO YOU. We greatly appreciate the support!)
FOLLOW US ON INSTAGRAM:
/ thehonestcarpenter
FOLLOW US ON LINKEDIN:
/ thehonestcarpenter
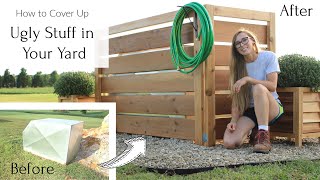
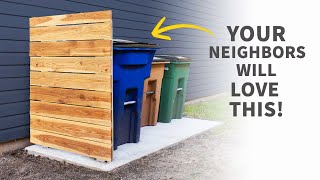
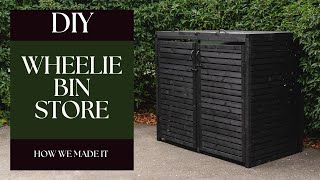
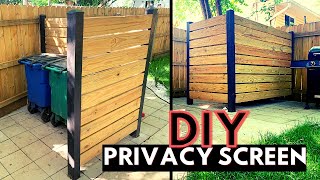
A lattice screen is a great way to hide your garbage can--and it's fairly easy to build! This video from The Honest Carpenter will show you how to build a lattice screen to hide your garbage can using affordable materials.
Here is a link to our 4x4 POST TRICK video mentioned above:
• How To Set Pressure Treated 4x4 Wood ...
(A lattice screen can be used in many more ways than to simply hide a garbage can. These same techniques can be applied to many yard situations where lattice comes in handy. Feel free to adapt these methods to add lattice screen beneath your deck, around a small garden, or between neighboring properties.)
Here is the accompanying article on our website:
https://thehonestcarpenter.com/blog/h...
Tools:
Miter saw (optional)
Table saw (optional)
Circular Saw
Compressor / Brad Nailer
OR
Drill / Driver
2' Level / 4' Level
Tape Measure
Caulking Gun
Materials:
3/4" lattice (much stronger than 1/2" lattice)
4x4 posts
1x4 treated trim
Concrete
Liquid Nails
Brad Nails OR Exterior Screws
How-To:
1) Measure garbage can--be sure you're building a large enough lattice screen to actually hide your garbage can!
2) Layout post holes
3) Dig post holes (approx. 2-3 times as large as your 4x4 posts)
4) Use highest ground point (probably near house) to determine highest point for your lattice screen
5) Cut first 4x4 post to height
6) Anchor 4x4 post in post holes by mixing concrete around it.
7) Use a 4' level from top of first post to determine height of second (nearest) post
8) Set post in post hole and anchor with concrete
9) Repeat these steps for third post--use a straight edge to set level on if necessary
10) Measure distance between posts
11) Cut lattice so pieces are just short enough to not extend past posts
12) Spread exterior-grade liquid nails on back edges of lattice. Run beads along diagonal lattice pieces (approx. 3" beads)
13) Attach lattice screen to posts using galvanized brads OR short exterior-grade screws
14) Use a stop block to help measure first horizontal trim piece
15) Cut and attach upper treated trim piece using liquid nails and brads; (pull adjacent measurement to outer face of this piece)
16) Attach this piece to lattice screen using liquid nails
17) Repeat process for bottom horizontal trim pieces on lattice screen
18) Measure and attach vertical trim pieces to lattice screen in similar fashion. Glue end grain of these pieces as well
19) Rip treated 1x4 trim to 1-1/2" widths
20) Use 1-1/2" trim pieces to hide top edge of lattice screen. Create a 1/8" overhang for aesthetic purposes. Cut miters on ends of trim pieces.
Be sure to allow your lattice screen 2-3 weeks to dry out before painting or staining. But, you can go ahead and hide your garbage can behind your lattice screen as soon as it's built!
If you enjoyed the video, please hit LIKE AND SUBSCRIBE below!
Be sure to visit us at The Honest Carpenter website for more tips, articles and tool links!
www.thehonestcarpenter.com