Published On Jan 10, 2021
TOOLS I USED:
- Measuring Square - https://amzn.to/3sk1xUb
- Utility Retractable Knife - https://amzn.to/3q6CmCj
- Drywall Saw - https://amzn.to/2XtRhu4
- 25' Tape Measure - https://amzn.to/3qc29cx
- DeWalt Impact Wrench - https://amzn.to/3q9FKwy
DRYWALL TOOLS:
-12" Drywall Plastering & Taping Knife - https://amzn.to/39mXD3U
- 6" Drywall Plastering & Taping Knife - https://amzn.to/39hbxEM
- 4" Drywall Plastering & Taping Knife - https://amzn.to/35uXjPs
- Drywall Pan - https://amzn.to/2Ln4sdM
- Drywall Mesh Tape - https://amzn.to/3qc3oZf
- Drywall Paper Tape - https://amzn.to/3hXtFaO
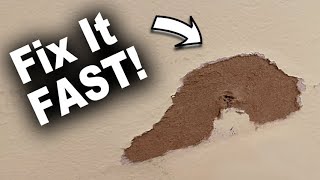
Hi Friends! This is a how to repair a drywall ceiling hole from start to finish! This is a great DIY for beginners! Drywall repairs are fun and easy to do, especially applying the joint compound mud! I hope you find it helpful and informative to the detail! Please don't forget to please hit that "LIKE" and "SUBSCRIBE" button if you find it helpful.
Please Subscribe To my Channel! / fixthishouse
DISCLAIMER:
Videos produced by Fix This House are provided for informational, educational and entertainment purposes only. Please use SAFETY precautions when following the tutorials on these videos. Viewers doing projects at their own home are doing it at their own risk and Fix This House cannot be held liable if they cause damage to their homes or injury. Fix This House cannot claim liability with all applicable laws, rules, codes and regulations for a project. Always stay informed of your local building codes! Happy and SAFE renovating!
#Drywall #Howtorepairdrywallceilinghole #Drywallrepair