Published On Jun 30, 2024
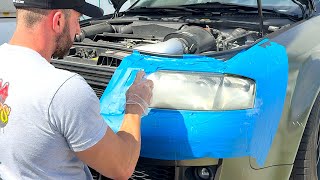
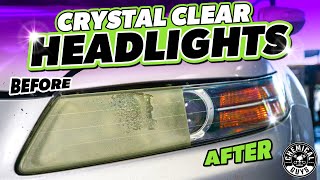
Join me in Colorado Springs as I take on the challenge of restoring my headlights using the Mothers NuLens Headlight Restoration Kit. In this video, I follow the four-step process outlined in the kit's instructions and share my results. While the outcome was okay but not great, the experience was definitely a valuable learning opportunity. Plus, I had some unexpected visitors - a bunch of curious deer came to see what I was up to!
In this video, you'll find:
Step-by-Step Restoration: Watch as I follow the four steps in the Mothers NuLens Headlight Restoration Kit, showing you each part of the process.
Honest Results: See the final outcome of my headlight restoration and hear my thoughts on the effectiveness of the kit.
Unexpected Visitors: Enjoy the fun and surprise as a group of deer stops by to check out my restoration project.
Tips and Insights: Learn from my experience with helpful tips and what I would do differently next time.
Whether you're looking to restore your own headlights or just enjoy a fun DIY project with a twist, this video has something for everyone. Don't forget to like, comment, and subscribe for more DIY adventures and vanlife content!
0:00 Intro
1:00 Going to AutoZone
1:28 Unboxing
2:40 Step 0: Preparation
3:25 Step 1: Eliminating Pitting and Major Defects
4:15 Step 2: Reduce the Haz
5:09 Step 3: Preparing for Polish
5:41 Step 4: Polishing the Lens
6:46 Assessment
7:36 Unexpected Visitors
8:39 Overall Assessment
https://socalvanlife.com/
Instagram: @socal_van_life
🦌 *Unexpected Moments:*
Curious deer joining the restoration process
🔔 Subscribe for more DIY and vanlife content!
*#HeadlightRestoration #DIYProject #VanLife #ColoradoSprings #MothersNuLens #WildlifeEncounters*
Thank you for watching, and happy restoring! 🌍🚐✨