Published On Oct 14, 2021
Would you like to start a microcement business?
Email us @ [email protected] and let us help you get started!
PLEASE SUBSCRIBE FOR MORE CONTENT!
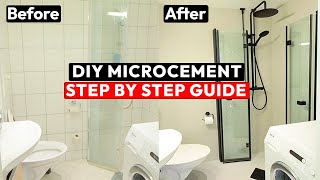
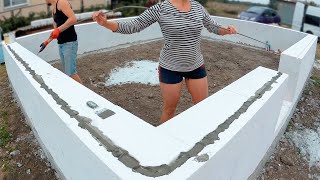
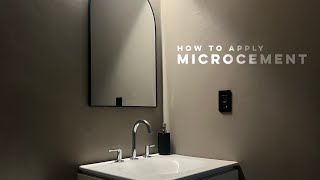
This video shows how to apply microcement over tiles. This is a certain type of microcement designed to use in wetsones and humid areas. This is only one in many ways to apply microcement. Stay tuned for more instructionals on different products
Products used is a product imported and distributed in Norway by overflatedesign As
Stages:
1. Clean surface
2. Prime + mesh
3. Base 2-3 coats/ until satisfied
4. Microcement 1-3 coats / until satisfied
5. Sealer
6. Polyurethane laquer
0:00 - Intro
0:16 - Surface Treatment
2:14 - Primer
4:25 - Mixing
6:08 - First Base Coat
9:16 - Grinding First Coat
10:50 - Primer Floor
15:00 - Second Base Coat
16:25 - Color Mixing
20:30 - First Microcement coat
24:00 - Second Microcement coat
27:25 - Demasking Drains
29:54 - Sealer
31:45 - Mixing Polyurethane
33:40 - First Coat Polyurethane
Are you or your company interested in offering microcement or trying it out?
visit https://overflatedesign.no/ for more information and contact us!
See projects on instagram: https://www.instagram.com/overflatede...
Denne videoen illustrerer legging av ferdigblandet/ 1 komponent våtroms mikrosement direkte over eksisterende flis.
Produkter brukt her er Innova Chemicals
Importert og distribuert i Norge av Overflatedesign As.
Ta kontakt med oss her for et tilbud til ditt prosjekt:
[email protected]
Steg:
1. Rengjøring
2. Primer+Nett
3. Base
4. Mikrosement
5. Sealer
6. Lakk
#microcement #mikrosement #diy #bathroom #microcementovertiles
#renovation #homerenovation #bathroomdesign #concrete #homebuilder #restoration #tiles #tiling #stucco