Published On Jan 31, 2021
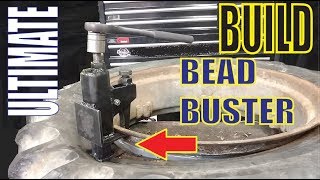
In this video I show step by step Bead Buster Instructions. The Bead Buster makes tire removal easy for DIY at home auto repair hobbyists like myself and it's affordable. This tire bead breaking tool breaks a tire bead quickly and easily if done correctly. Here are my simple Bead Buster instructions:
1. Remove tire and air from the tire and get some tire lube and lubricate where the tire meets the rim
2. Make sure the Bead Buster bolts are lubricated
3. Make sure you attach the desired arm of the Bead Buster that fits your rim size into the correct position by lining up the two holes and inserting the pin. (A wing nut holds the pin in place)
4. Push the sidewall of the tire down and insert the 2 feet of the Bead Buster tool between the tire and the side edge of the rim.
5. Make sure the black rubber end of the arm is on the rim and not the tire
6. Make sure the the arm is angled so it fits your rim snugly
7. Tighten the first 3/4 inch bolt so the Bead buster forms a 90 degree angle with your rim and tire
8. Tighten the second 3/4 inch bolt so that the feet begin to push down on the tire sidewall
9. Always remember to be safe! Wear goggles, gloves and keep your fingers away from the moving parts! Do not over-tighten the bolts.
10 Watch my video - "Bead Buster Instructions - Avoid These Mistakes !!!" so you learn the correct way of operating the tool and you learn what mistakes to avoid. It will honestly save you time in the long run.
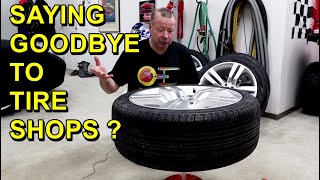
Thanks for watching! If you have any questions let me know in the comments section below.