Published On Jul 1, 2020
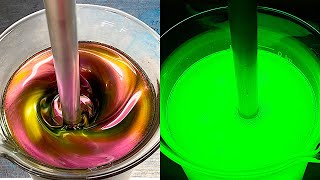
In this Light Painting Tool Tutorial I show 4 different ways to add color to your Plexiglass Light Painting Brushes. Plexiglass Light Painting Brushes are some of the more versatile Light Painting Tools around. These light painting tools are great for creating abstract light painting images, light painting portraits, light painted wings and all the orbs you can stand to make before your arms finally give out. Adding color into and/or onto your plexiglass can make your images come alive. All the different tools and technique in this tutorial work great on their own, but the magic really happens when you combine some of these colorful techniques to create unique colors and textures in your light painting photography work. Below is a list of the light painting tools that I used in this tutorial with links to all of them. Enjoy.
Light Painting Tools in this video:
The Plexiglass Light Painting Tools are from Light Painting Brushes:
https://lightpaintingbrushes.com/coll...
Light Excursion RGB Light: / lightexcursion
Screw On Color Filters: https://lightpaintingbrushes.com/prod...
Transparent Color Vinyl: https://amzn.to/2IBZOGT
Flashlight: Soonfire MX66: https://amzn.to/38dXpLL
Wide Tip Sharpies: https://amzn.to/3eQTAyl
The camera settings for most the Light Painting Photographs you see in this tutorial video were: ISO 100, F8-F10, and exposure times ranged from 10-45 seconds shooting in a completely dark studio environment.
Follow my light painting work at:
/ jasondpage_lightpainter
/ jasondpage