Published On Jun 14, 2019
Robin's back with another carpentry tutorial. This is the first part of a series of three and it's how to fit interior doors, part one is the door lining.
The video is a detailed guide on how to fit a door lining, specifically focusing on second fix carpentry work. The presenter, an experienced carpenter, walks through the process, offering tips and techniques that ensure a high-quality finish.
Materials and Preparation
Modern Door Linings: Today’s door linings are mass-produced, made of Whitewood, and available at builder merchants. They are dry and ready for installation but may not always be of the best quality.
Initial Checks: Before starting, the carpenter checks the door width, marks the face sides and edges, and examines the jams to ensure they are straight or, if bowed, figures out the best way to position them for fixing.
Steps in Fitting a Door Lining
Marking and Measuring:
Mark the face side and edge of each piece.
Measure and cut the legs of the door lining.
Check for any twists or cups in the wood and adjust accordingly.
Dry Fitting:
Assemble the door lining without glue first to ensure everything fits correctly.
Make minor adjustments with a plane if necessary to avoid splitting the wood.
Gluing and Assembly:
Apply glue to the joints before final assembly to ensure durability.
Use bracing techniques to keep the door lining square and in place during installation.
Squaring and Fixing:
Use stops to brace and square the frame.
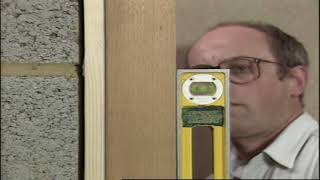
Check the alignment with plastered walls to avoid misalignment during the final installation.
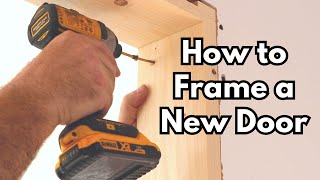
Use screws and pins to secure the frame in place, ensuring everything is level and square.
Final Adjustments:
Set toggle blocks to maintain alignment during installation.
Make minor adjustments to ensure the frame is flush with the surrounding walls.
Finishing Touches
Plugging and Trimming: After the door lining is fixed, plugs are inserted into screw holes and then trimmed and sanded to blend seamlessly with the wood. This step is crucial, especially when working with hardwoods.
Temporary Pinning of Stops: The stops are temporarily pinned to one side to keep them secure for later use.
Conclusion
The video concludes with the carpenter sharing his plans for future videos on second fix work, such as architraves, skirting, and door hanging. He encourages viewers to subscribe for more content.
#Doors #Woodworking #Carpentry
===================================================
Tell us what you like: http://skill-builder.uk/vote
Get in touch, send us your pictures and videos: http://skill-builder.uk/send
Twitter: / skillbuilderuk
Facebook: / skillbuilderchannel
Out of respect to our channel sponsors and the wide variety of people who watch our videos, we will remove comments that do not follow common standards of politeness and decency.