Published On Nov 27, 2018
Properly mixing and pouring Bar Top Epoxy is crucial to a successful project. Incorrectly measuring, mixing, or pouring can lead to a project that does not cure correctly.
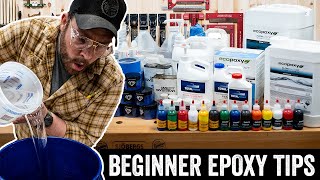
Today http://epoxycountertopdiy.com/ demonstrates how to properly measure, mix and pour bar top epoxy on a sample piece of material. It is highly recommended to test a sample area or sample piece to familiarize oneself with how epoxy will react to a particular surface. In this example we use a piece of scrap cedar to test Promise Table Top Epoxy. This is the same wood used on a cedar bar top as demonstrated in the video.
Reading the directions fully is imperative to a proper mix ratio & pour. Most table top epoxies require minimum temperatures. In this example, the epoxy resin requires a minimum of 70° with the optimal temperature 75°. Pouring in a dust-free, low humidity environment will insure a project that is not comprised by external. The Promise Table Top Epoxy Kit is a 1:1 mix ration by volume. This was easily measured out in a graduated container.
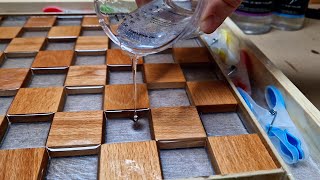
Pouring a seal coat is highly advised in order to reduce bubbles. By pouring a very thin seal coat, bubbles are allowed to rise to the surface and ultimately escape. Using a torch or heat gun to disrupt the surface tension of the epoxy allows bubbles to release easier.
After 4 hours, the seal coat had cured enough to pour a flood coat. In the flood coat we allowed the epoxy to run off the sides of the project. See the difference before & after of the epoxy.
Incredible Solutions Review (same product, with the new name Promise) : http://epoxycountertopdiy.com/incredi...
Epoxy Used: https://amzn.to/41Xn8SV
Graduated Containers: https://amzn.to/3Wxkwdq
Video By: http://epoxycountertopdiy.com/