Published On Jun 10, 2022
Use the following links if you want to skip to the next chapter of the video:
00:00 General intro
01:54 Required level of precision
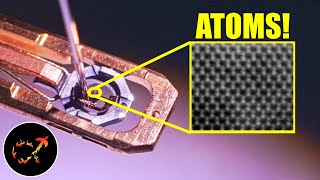
07:12 Measuring surface shapes with interferometry
10:46 Fringe evaluation with DFTfringe
12:12 Optical Pitch polishing
17:19 Making molds using 3D printing
18:18 Results with variable surface tools
21:06 Primary mirror
22:20 Point Diffraction Interferometry (PDI)
26:48 Visual performance
29:58 NO MORE NAPS (featuring Dr. Fullersheit)
Links mentioned in the video:
Website with the best and most detailed information on telescope optics:
https://www.telescope-optics.net/. This is the direct link to the page about the different criteria and how they relate to aberrations: https://www.telescope-optics.net/effe...
The 3D-printer used was manufactured by 3Bfab. More information on their products can be found on their website: https://3bfab.com/ (not sponsored content - they did neither ask nor pay me to show their product)
DFTfringe software is programmed by Dale Eason. This is the link to his YouTube channel: / @daleeason9687
The software can be downloaded from:
https://github.com/githubdoe/DFTFring...
This is the link to the interferometry group on DFTfringe that Dale runs:
https://groups.io/g/Interferometry
The Point Diffraction Interferometer can be purchased for about 50 Euros from Michael Koch at http://www.astro-electronic.de/
(not sponsored content)
Other videos in this series:
Part 0: Tiny telescope concept video (featuring Rik): • Why is this Space Telescope so Tiny?
Part 1: Optical Design and Aspherics; • Making a Monolithic Telescope Part 1:...
Part 2: Machining Glass; • Making a Monolithic Telescope Part 2:...
Special thanks to Dr. Liam Fullersheit for his guest appearance. (;-).