Published On Mar 22, 2015
Part five in the series making the chessmen.
And now, we turn our attention to the kings and queens, the true masters of the chess kingdom.
If you've been following my previous videos, you've witnessed the creation of the bases for the chess pieces. The kings and queens share the same size bases, just like the rooks.
For the crowns, I initially crafted them with contrast wood tops. However, after cutting them, I felt the need for something more captivating. Though the bodies are taller than the rooks, I maintained the diamond-shaped window design. The queen's crown features a concave separator before the crown, created with the core box cutter on the router table and then cut to size. On the other hand, the king's crown has both concave and convex separators, fashioned using a corner beading router bit.
An interesting technique to assemble the parts involves using wood glue around the edges and super glue in the center. The super glue acts as a temporary hold until the wood glue dries. However, it demands quick precision, as there's only a brief window of about 10 seconds to center the parts.
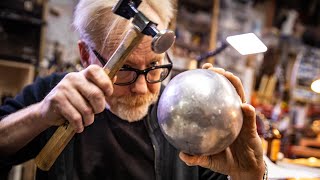
While browsing, I stumbled upon small brass balls with screws on the bottom, a perfect addition to top off the queen! For the king, I have a small piece of brass and a piece of aluminum that will be used for the cross. The band saw efficiently cuts through this soft metal, followed by filing and buffing for a shiny finish.
Here's a little secret: In the bottom of each king, I embed a quarter with the current year's date, like a time capsule. This hidden treasure will be covered by felt and only revealed two or three centuries from now when a museum replaces worn-out felt during restoration.
Both kings receive a glass marble inside their crowns, serving as the crown jewels. The challenge lies in fitting the marble inside the queen, requiring a flat surface for proper gluing. I hand-sand the marbles to achieve a flat side, enhancing their sparkle by baking them in a 400-degree oven for 10 minutes and then cooling them in ice-cold water. The result is glass fractures reminiscent of diamonds, creating a captivating visual effect.
Throughout the journey of building this chess table and set, numerous changes have been made, with a notable shift to incorporate brass and glass marbles instead of relying solely on wood. The decision to use brass balls on top of the bishop was contemplated but ultimately set aside to maintain focus on the king and queen.
In the upcoming video, I'll be crafting custom inserts for the drawers to securely hold all the chessmen. If you enjoy these videos and want to see more, please consider subscribing to my channel. Thank you for watching!